Policy Management
Easily manage access control in your application by defining and maintaining policies.
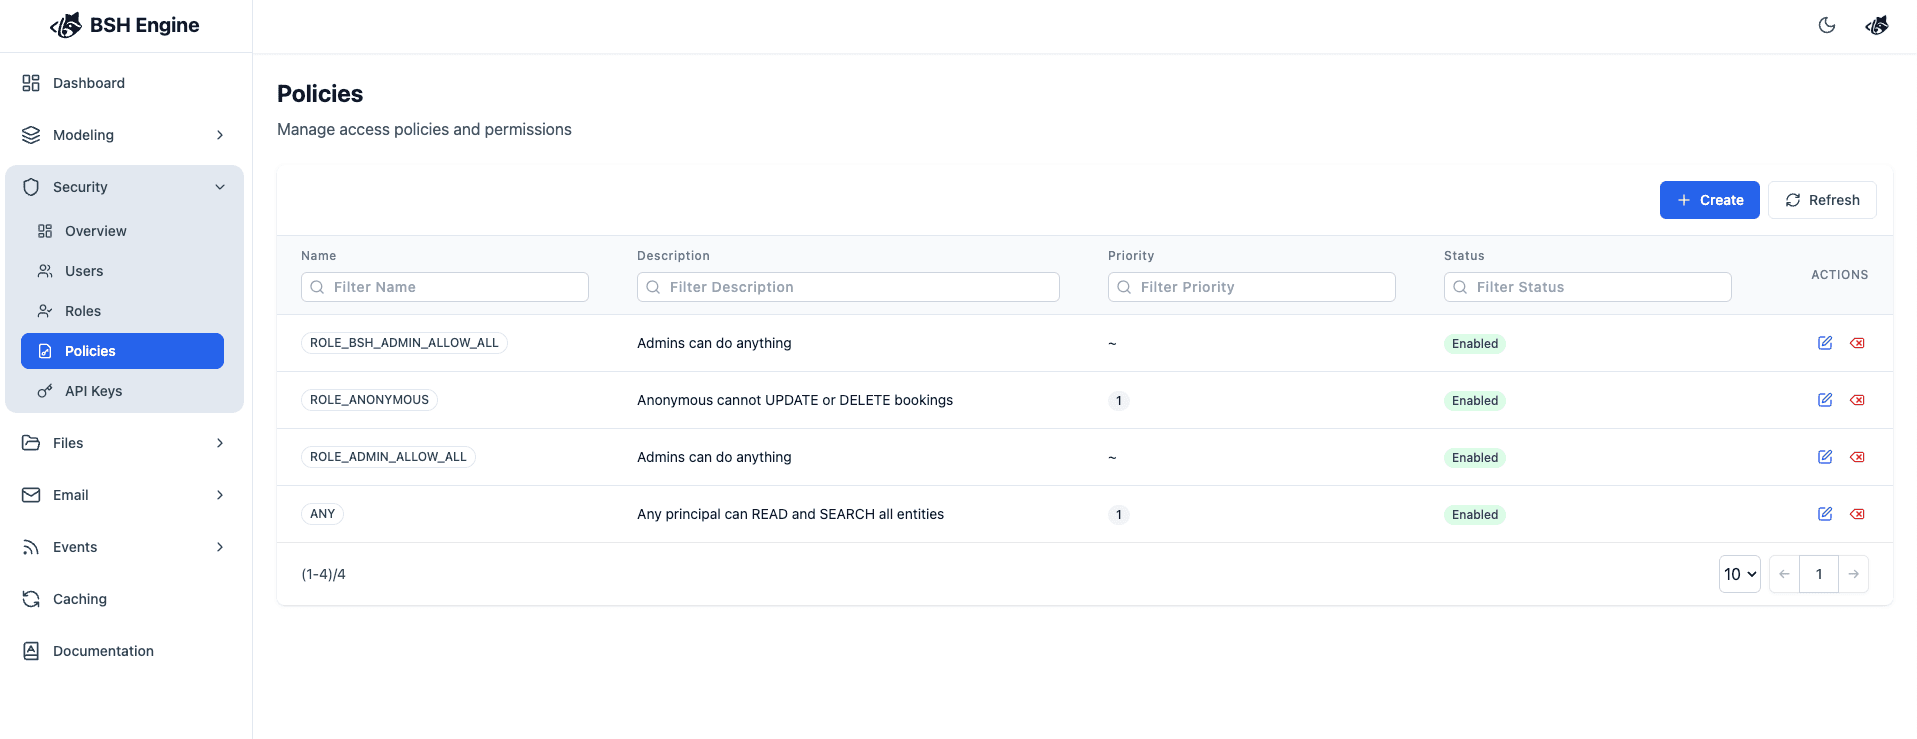
Policies List
View all existing security policies here:

Creating a Policy
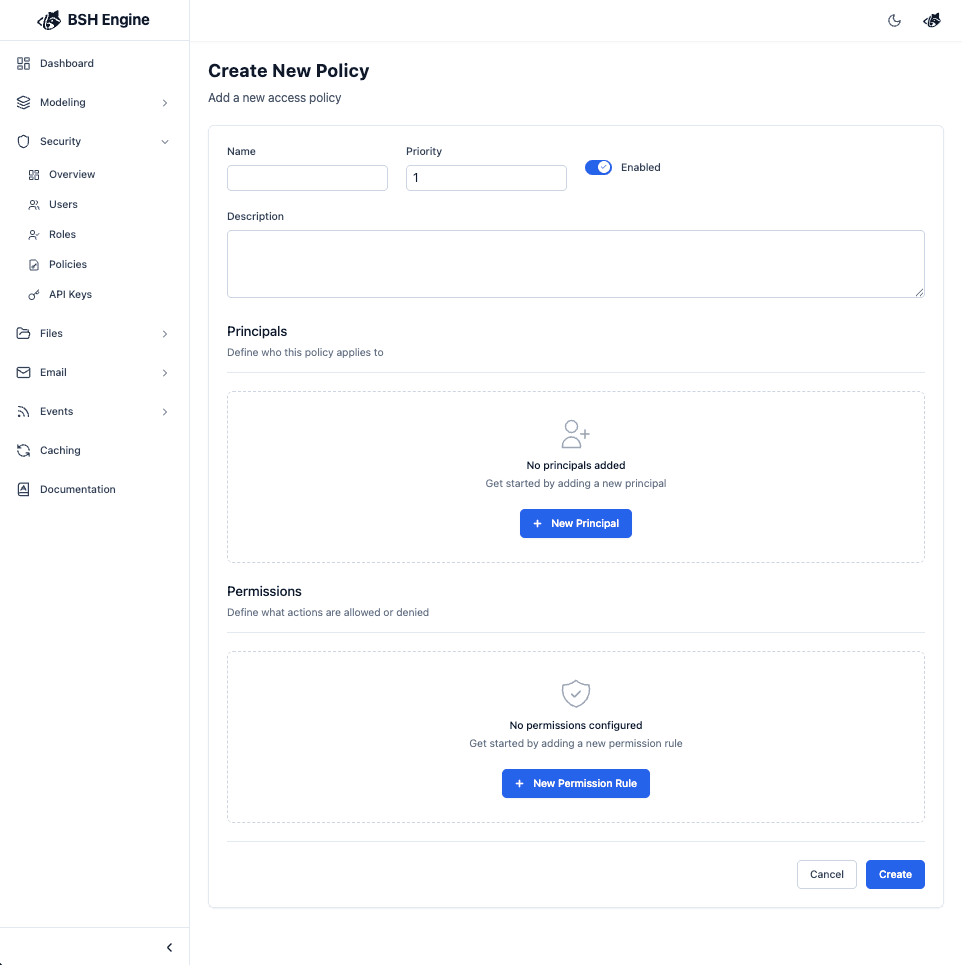
To create a new policy:
- Fill in the policy’s details, define who it applies to (principals), and specify the allowed or denied permissions.
- Save the policy to activate it.

Policy Properties
| Property | Type | Required | Description |
|---|---|---|---|
| Name | string | yes | A unique, descriptive name for your policy. |
| Description | string | no | Optional details about the policy’s purpose. |
| Priority | number | yes | Controls which policy takes precedence (higher means higher priority). |
| Enabled | boolean | yes | Set to true to activate, false to disable. |
| Principals | array | yes | Defines which users or roles the policy applies to. |
| Permissions | array | yes | Specifies what actions are allowed or denied. |
Defining Principals
Principals determine WHO the policy targets.

| Property | Type | Required | Description |
|---|---|---|---|
| Type | string | yes | Principal type: currently supported: USER, ROLE. |
| Value | string | yes | The unique ID for the user or role |
- For
USER, use the User ID. - For
ROLE, use the Role ID. ANYcan be used to match all types.
Use the * wildcard value to match all users or all roles.
Support for new principal types like GROUP and API_KEY will be added in the future releases.
Defining Permissions
Permissions define WHAT actions the policy will allow or deny.

| Property | Type | Required | Description |
|---|---|---|---|
| Entity | string | yes | The resource/entity that the permission targets. |
| Action | string | yes | The type of operation permitted. |
| Allow Access | boolean | yes | Grant or deny access. |
Allowed actions include: READ, WRITE, UPDATE, DELETE, SEARCH.
Tip: Use priorities to determine which policy takes effect when multiple policies apply to the same entity and principal.